Are you having issues troubleshooting gas analyzer problems? Do you need a practical guide on how to get your gas analyzers working again efficiently?
Look no further! In this blog post, we provide a comprehensive guide on how to effectively troubleshoot and repair any type of gas analyzer issue.
We also share our expertise in this field, offering insight into the best possible solutions for resolving these types of problems, so that you can ensure optimal performance out of your equipment. Read on to learn more!
What To Do If Your Gas Analyzer Is Not Functioning?
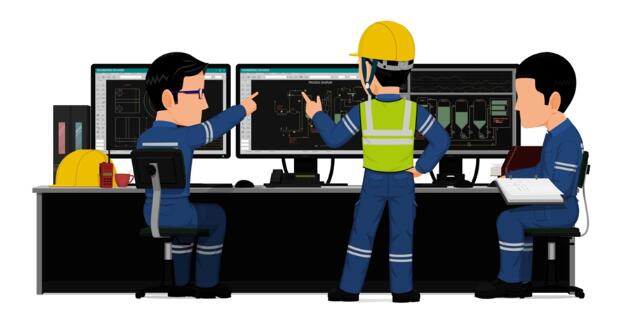
Some gas analyzer problems can be easily identified and fixed, while others may require more complex solutions. Here are some of the most common steps you should take to address them:
- Check The Power Supply:
Make sure that there is a secure and constant connection between your analyzer and its source of electricity, such as an outlet or generator.
- Check The Fuses:
Faulty or blown fuses can cause your analyzer to malfunction, so be sure to replace them when necessary. Also, check that all cables and connections are soundly plugged in.
- Check The Sensor:
Confirm that your sensors are clean and free of dust or dirt, as this can cause erratic readings. Check for any signs of damage to ensure they are in good working order.
- Check The Calibration:
Regularly calibrate your analyzer to make sure it is correctly reading gas levels and providing accurate data output.
- Update Firmware/Software If Available:
This might be necessary for your gas analyzer to function properly. If a firmware or software update is available for your device, be sure to apply it as soon as possible.
- Clean Vents And Filters:
Make sure all the vents are free from dust and debris. Also, check that the filters are clean or replace them if necessary for maximum efficiency of your analyzer.
- Contact Manufacturer:
If you have followed all the steps above but still can’t get your analyzer working, contact the manufacturer for further advice.
- Replace Spare Parts:
In some cases replacing a faulty or worn-out part may be necessary to get your gas analyzer back up and running again.
- Adjust Settings:
Sometimes incorrect or outdated settings can cause your analyzer to malfunction, so make sure you adjust the relevant parameters and options as necessary.
- Check The Manual/Guidebook For Troubleshooting Tips:
Make sure you consult the manufacturer’s manual or guidebook for troubleshooting tips that may resolve your issue.
- Contact A Service Center:
If all else fails, contact an authorized Service Center to get professional help with your gas analyzer.
- Consider Getting A New One:
If all of these steps don’t seem to be helping, you may want to consider investing in a brand-new gas analyzer from ESEGAS. We have a wide variety of models and configurations to choose from, so you’re sure to find one that meets your needs perfectly!
How To Calibrate Your Gas Analyzer?

Calibrating your gas analyzer is essential to ensure accurate results and optimum performance of your device. Here are the steps you need to follow for successful gas analyzer calibration:
- Read And Understand The Manufacturer’s Manual:
Before starting to calibrate any gas analyzer, it is important that you thoroughly read and understand all instructions provided by your instrument’s manufacturer.
- Evaluate The Environment Where Your Gas Analyzer Will Be Used:
Environmental factors such as air pressure, humidity, and temperature can affect a gas analyzer’s accuracy so it is important to ensure that you are using an instrument in an environment that meets the manufacturer’s specifications.
- Clean And Inspect Your Gas Analyzer:
Before calibration, you should clean any dirt or dust from both inside and outside of your gas analyzer to ensure accurate readings when calibrating.
Additionally, you should inspect the internal and external components of your analyzer for any damage that may affect its accuracy or performance when calibrating gases.
- Check All Connections:
Before starting a calibration process it is important to make sure that the connections between the gas analyzer and any external devices are all secure. This will help to ensure accuracy when taking readings from your instrument during calibration.
- Select A Suitable Reference Standard:
When calibrating a gas analyzer, it is important to use a suitable reference standard. The accuracy of the measurements taken by your instrument will depend on how closely matched this reference standard’s readings are with those produced by your gas analyzer during calibration.
- Verify The Accuracy Of Your Reference Standard:
Before calibrating a gas analyzer, it is important to make sure that your chosen reference standard’s readings are within tolerance limits specified by the manufacturer for an accurate calibration process. Any discrepancies should be noted and considered when calibrating your instrument.
- Take Multiple Readings During Calibration:
It is important to take a series of measurements with both the reference standard and gas analyzer to determine if there are any discrepancies between the two readings.
This will help to ensure that your instrument is accurately calibrated and can give accurate results when in use.
- Record All Calibration Data:
Once you have finished calibrating a gas analyzer it is important to record all calibration data so you have a reference point in case any problems arise with the instrument.
It will identify if further adjustments need to be made when calibrating your gas analyzer again at a later date.
How To Check The Sensor Functionality?
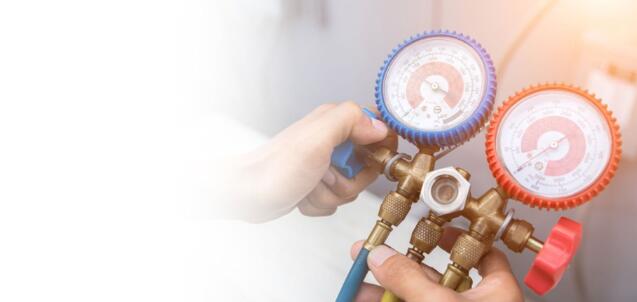
Did you know that gas analyzers consist of multiple components, including gas sensors? These gas sensors are essential for the accurate and reliable functioning of your gas analyzer and it is important to regularly check their functionality. By following these essential steps, you can ensure that all your gas sensors are running optimally:
- Visual Inspection:
The most common and easy way to check the functionality of a sensor is with a visual inspection, which can be done using any type of camera or microscope.
This method helps you identify if there are any defects in the construction such as cracks, scratches, or other damages on the surface of the sensor.
- Electrical Test:
When it comes to checking a sensor’s functionality an electrical test is necessary too. This type of testing involves measuring and recording voltage levels within different components of the sensor. It helps in determining if the sensors are connected and working correctly or not.
- Power Measurement:
Power measurement is another test that can be used to check a sensor’s functionality, as it determines whether the sensor is consuming too much power or not.
It helps in identifying if any parts within the system have gone bad and need to be replaced for optimum performance of the device.
- Stress Testing:
Stress testing can also help in determining if a sensor is working correctly or not. This type of test involves subjecting the sensors to extreme conditions such as high temperature, vibration, shock, and other stressful scenarios that can affect their functionality.
- Data Analysis:
Data analysis is also a crucial part of determining the functionality of sensors. It helps in detecting if any errors exist within the system and can help you identify which components need to be replaced for better performance.
- Performance Monitoring:
Performance monitoring is the last step in checking a sensor’s functionality. This type of testing involves continuous tracking and analysis of data to make sure that all components are working effectively. It helps you stay on top of any changes or issues within your system, which makes it easier to address any problems as soon as they arise.
Cleaning And Maintenance Of Your Gas Analyzer!
When it comes to gas analyzers, regular maintenance, and cleaning are essential for optimal performance. If you don’t maintain and clean your gas analyzer regularly, it can lead to inaccurate readings and unreliable results. Here are some essential cleaning and maintenance tips for gas analyzers:
- Always wear the required safety gear when handling or performing maintenance on any gas analyzer or equipment related to it, such as respirators and protective eyewear.
- Make sure all components of your gas analyzer are clean before performing maintenance. Use an approved solvent and clean cloth to do so.
- Regularly inspect your gas analyzer for any signs of wear or damage, such as cracks, corrosion, or discoloration in the sample cells/sensors.
- Calibrate your gas analyzer regularly according to the manufacturer’s instructions and adjust as needed for more precise readings.
- Check all electrical connections twice a month to make sure they are tight and secure.
- Store your gas analyzer in a cool, dry environment to prevent dust and moisture build-up that may cause damage or erroneous readings on the instrument’s display screen.
- Make sure any filters used with your gas analyzer are replaced as required and according to the manufacturer’s instructions.
- Change any lamps or light bulbs that have become dimmed over time, since they can produce inaccurate readings if left unchanged for an extended period.
- Regularly check the batteries used in your gas analyzer and replace them with fresh ones if needed or as recommended by the manufacturer’s instructions.
- Finally, have a professional at ESEGAS inspect and service your gas analyzer once a year for optimal performance.
Troubleshooting Common Problems with Gas Analyzers!
No matter how well you maintain and clean your gas analyzer, there may be times when it stops functioning correctly or produces inaccurate readings. Check out these common gas analyzer problems and how to troubleshoot them:
- Low Or Inaccurate Readings
This is usually caused by a faulty battery or worn-out sensor. To check the battery, replace it with a new one and see if that solves the issue.
If not, then you may need to send your analyzer in for repairs or calibrations before continuing to use it.
- Poor Sampling Accuracy
If your readings are consistently inaccurate, then this could be due to poor sample quality or a lack of calibration from the factory.
To fix these issues, ensure that you’re using clean air and that your analyzer is properly calibrated according to the manufacturer’s instructions.
- Poor Response Time
If your readings are taking too long, then this could be due to a bad connection between the gas sample port and the analyzer, or an issue with the internal circuitry.
Check all connections and ensure that everything is securely connected before trying again.
- Not Responding at All
If your gas analyzer doesn’t appear to be functioning properly, then it may need to be rebooted. To do this, power off the analyzer completely and unplug all of its cables before plugging them back in again after a few seconds.
- Unstable Readings
If your readings are fluctuating or changing rapidly, then this could be due to an issue with the gas sample. Make sure that you’re using a consistent and reliable source of air before continuing to use your analyzer.
Conclusion
No matter which kind of gas analyzer you use, troubleshooting is always going to be a necessary part of maintaining the highest levels of accuracy and usability.
By following the tips outlined in this guide, you can troubleshoot any gas analyzer problems quickly and efficiently.
If you ever need a professional team to help with any issues you may encounter concerning your gas analyzers, then contact EseGas today without hesitation.
Our qualified technicians are your go-to resource for quality repairs and maintenance of all kinds of gas analyzers. With our expertise, we guarantee that your equipment runs as smoothly as it did on its first day! Don’t wait, talk to one of our friendly experts now!


