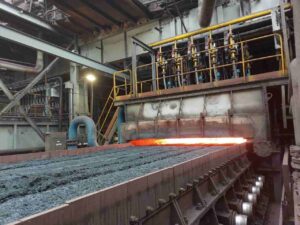
Maintaining your dust monitor is essential to meet environmental rules and protect your facility. Regulatory bodies require continuous, real-time particulate data for emission reporting and compliance documentation. Accurate readings help you prove adherence to limits, generate audit trails, and avoid fines or sanctions for missed exceedances. Continuous monitoring systems provide the documented data needed during environmental inspections.

When your dust monitor is neglected, measurement errors can build up quietly over time. Sensors can drift or become contaminated, causing readings to slowly stray from true values. These errors can lead to false alarms, missed exceedances, or incorrect zero baselines, all of which can disrupt operations, trigger unnecessary shutdowns, or mislead decision-making.
Display-equipped dust monitors bring added complexity. These systems depend on both optical alignment and mechanical stability, not just software settings. Dust buildup on optical components or loose mechanical parts can degrade signal quality and skew results. Regular cleaning, alignment checks, and calibration keep optical paths and detectors working reliably.
Proper dust monitor maintenance is a risk-control strategy, not a routine chore. By caring for your equipment proactively, you protect compliance status, reduce unexpected failures, and support safe, efficient plant performance.
How Does a Dust Monitor Respond to Real Dust Conditions in Dust Monitor Maintenance?
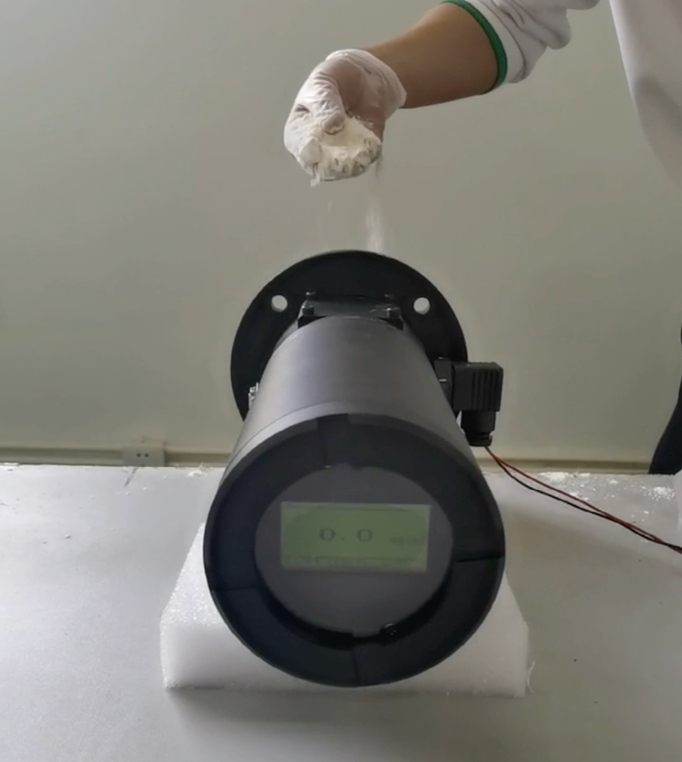
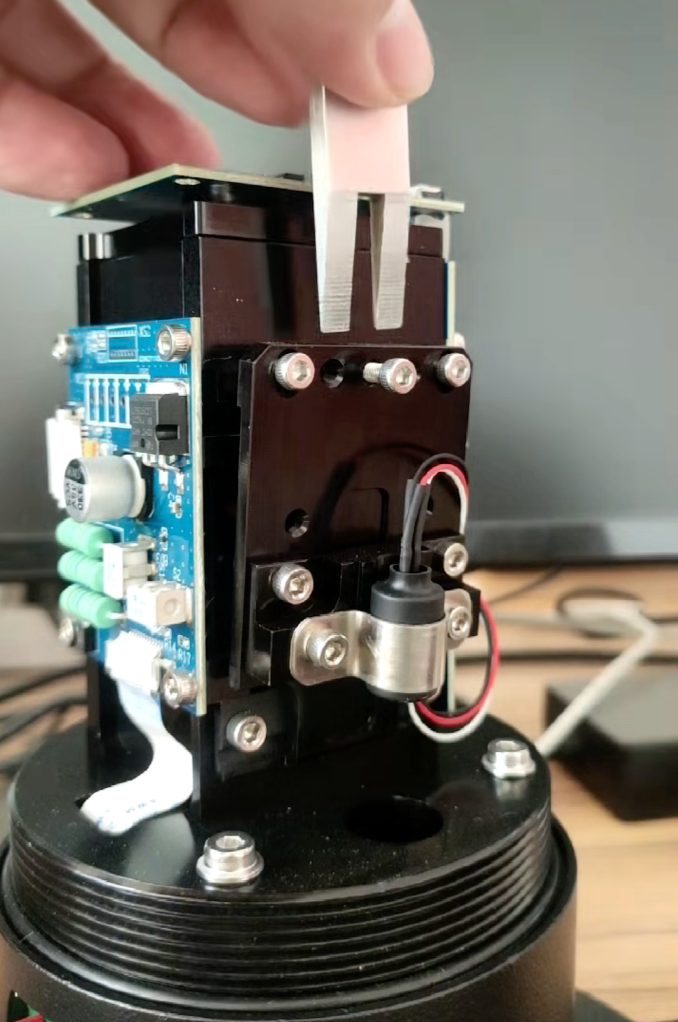
To understand how a dust monitor reacts in the field, we start with a simple real-world response test using simulated dust. In this test, we use a display-equipped laser dust monitor with a measurement range of 0–100mg/m3 and a fixed optical path of 0.5 m. A controlled amount of white powder is introduced into the optical path to mimic particulate matter in an emissions duct or stack. This setup mirrors how industrial optical monitors detect dust in exhaust streams.
When the simulated dust enters the optical path, the monitor’s reading jumps immediately. As particles intersect the laser beam, they scatter or attenuate the light, causing the sensor to register a higher concentration. As soon as the dust stops, the reading quickly falls back toward zero. This rise–decay behavior demonstrates the instrument’s responsiveness to changing dust loads in real time.
Consistent response patterns across repeated dust injections reveal the health of the optical system. If the monitor consistently shows clear rises and returns to baseline, the optical components and signal processing are likely functioning correctly. Sharp, repeatable signal changes are key indicators of optical alignment and detector performance. In practice, this type of hands-on response testing helps operators understand how their dust monitors behave under real particulate conditions and spot early signs of drift or optical degradation.
Why Is Zero and Span Calibration Essential in Dust Monitor Maintenance?
Why Zero and Span Calibration Cannot Be Skipped
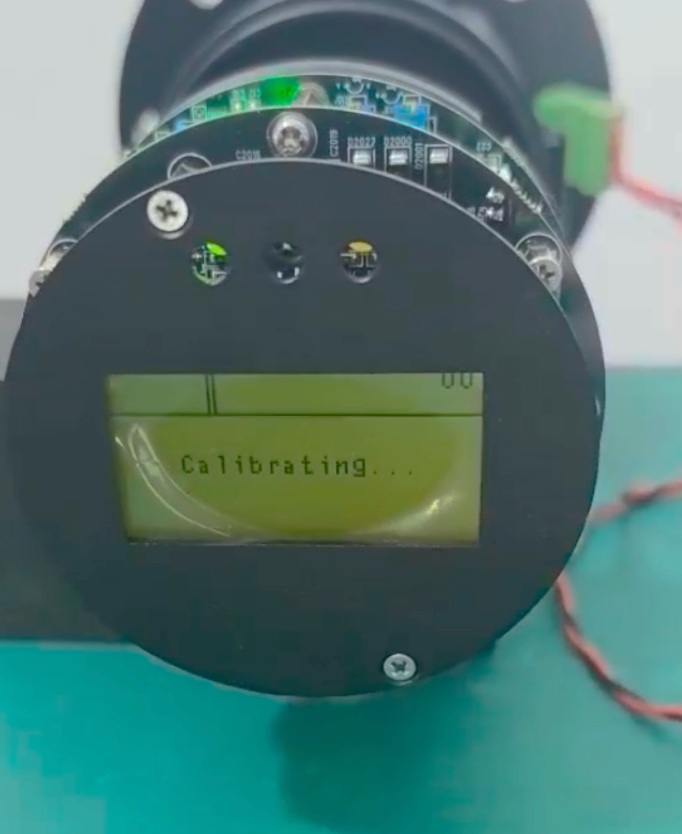
Zero and span calibration sets the reference point for every dust reading. If the baseline shifts, all reported values shift with it. Over time, this distorts trend data and hides real emission changes. In compliance audits, poor zeroing often explains data gaps or sudden exceedances. Even small zero offsets can trigger false alarms or missed limits. In short, bad calibration creates bad decisions. That’s why zero and span checks sit at the core of reliable dust monitor maintenance.
Step-by-Step Zero and Span Calibration Procedure
First, secure access through the instrument’s password-protected menu. This step prevents accidental changes. Next, install the physical blocking element correctly to isolate the optical path. Alignment matters here; a tilted block can leak light. Once installed, confirm the reading stabilizes at true zero. Watch the display until values stop drifting. Only then should you store the zero and proceed with span calibration. This disciplined sequence keeps results repeatable and defensible.
Best Practices for Calibration Consistency
Recalibrate after maintenance, optical adjustments, or unusual readings. Also recalibrate if the process conditions change. During calibration, eliminate ambient dust and vibration as much as possible. Even small disturbances can skew results. Use the same procedure every time and document each step. Consistency turns calibration from a task into a control method. That’s how experienced field engineers protect data quality and compliance.
How Does Optical Path Adjustment Improve Dust Monitor Maintenance Accuracy?
Why Optical Path Length Matters for Measurement Accuracy
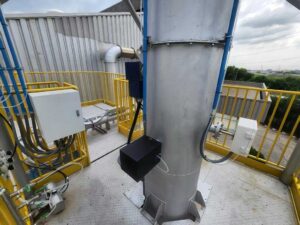
The length of the optical path directly affects how a dust monitor detects particles. In optical instruments, light travels across the stack or duct and the dust in that path alters the signal’s intensity. When the path is longer, the beam interacts with more particulate matter, which can improve sensitivity for larger stacks. Conversely, shorter paths work better in narrow ducts where light has less distance to travel and signal loss is greater. Adjusting the optical path ensures that the monitor’s optical geometry matches duct or stack size, which is essential for accurate and consistent readings rather than one-size-fits-all settings.
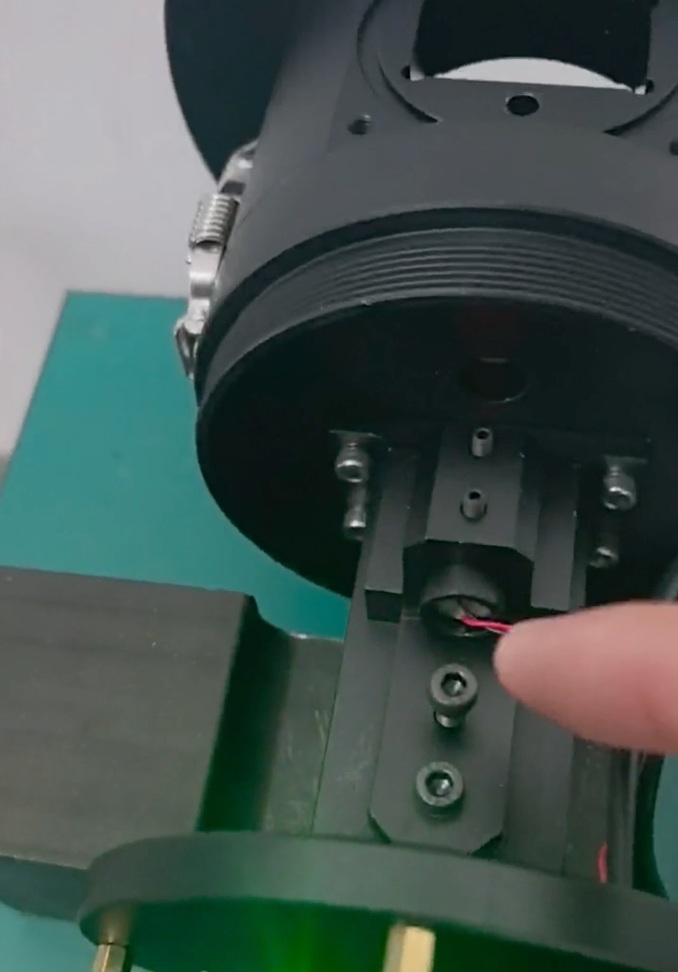
How to Adjust the Optical Path from 1 m to 2.5 m
To increase the optical path to 2.5 m, begin by loosening the center screw gently. Then use a reference block or alignment jig to position the optical transceiver and reflector at the target distance. This ensures the light beam spans the correct gap. When reducing the path back to 1 m, tighten the side screws first before the center screw. This sequence prevents the optical components from misaligning during compression. Following a careful order of operations preserves beam alignment and reduces rework during maintenance.
The “Minimal Force” Rule Explained
Excessive clamping pressure on optical mounts can distort component alignment over time. Too much force can flex housing parts or shift the beam slightly, which leads to unstable or drifting measurements. Instead, use just enough force to secure components without stressing their position. This “minimal force” approach helps maintain stable optical alignment and reduces the need for frequent adjustments. Proper mechanical care like this is often missing from basic manuals but makes a big difference in long-term performance.
How Does Signal Optimization Improve Dust Monitor Maintenance Performance?
Understanding the Lv Value in Laser Dust Monitors
The Lv value reflects optical signal strength, not dust concentration. It shows how much usable light reaches the detector. A stable Lv means the optical path and alignment work as intended. For EPA-style monitoring, this matters a lot. Weak or unstable signals reduce confidence in reported data, even if calibration looks correct. Think of Lv as the health indicator of the optical system. If Lv drifts, the measurement will follow sooner or later.
How to Increase or Reduce Signal Output Correctly
To increase signal strength, rotate the adjustment screw counter-clockwise in small steps. Watch the display as you adjust. The response should be smooth and immediate. If the value jumps or lags, stop and recheck alignment. To reduce the signal, reverse the rotation carefully. Always adjust slowly. Real-time feedback on the display helps you avoid over-correction and protects optical stability.
Interpreting Signal Ratios and Data Output
Signal ratios help with fast diagnostics. For example, an Lv near 40 often produces a measurement around 20. This proportional behavior confirms normal optical response. If the ratio breaks, look for misalignment or contamination. Ratios reveal problems faster than raw numbers alone.
Mechanical Stability After Adjustment
After tuning, lock the setting correctly. Use the upper adjustment screw to set the signal. Then secure it with the lower fixation screw. This pairing resists vibration and thermal expansion. Good mechanics keep the signal steady long after adjustment.
Conclusion
Dust monitor maintenance goes beyond simple cleaning — it’s a system-level discipline that combines optical, mechanical, and signal maintenance to support reliable particulate measurement. These monitors provide continuous real-time data that environmental agencies and plant operators depend on for reporting and compliance. When you maintain optical alignment, check mechanical integrity, and optimize signal outputs, you reduce noise and drift in your data. This leads to trustworthy emissions records that regulators accept and inspectors respect.
Following proper procedures also supports plant safety and operational continuity. Well-maintained dust monitors help detect process deviations early, enabling timely corrective action rather than surprise exceedances or data gaps that trigger enforcement actions. Plants with robust maintenance workflows can move from reactive service to proactive condition-based care, which reduces unplanned shutdowns and extends instrument life.
If you want deeper insights and visual walkthroughs of maintenance steps, visit our YouTube channel for practical videos on dust monitor setup and upkeep. Or visit our website to contact with your own specialist!
FAQs:
Q1: What is dust monitor maintenance and why does it matter?
A: Dust monitor maintenance is the regular care, calibration, and mechanical inspection needed to keep a particulate monitor accurate and reliable. It ensures real-time dust readings remain trustworthy, supports regulatory reporting, and reduces false alarms or compliance failures due to sensor drift or misalignment. Effective maintenance protects both safety and emissions data quality.
Q2: What are common signs that a dust monitor needs maintenance?
A: Watch for unstable baselines, inconsistent readings after calibration, poor repeatability after dust exposure, or unusual jumps in signal output. These signs often point to contamination, optical misalignment, or mechanical loosening. (Based on blog reasoning)
Q3: What does zero and span calibration mean in dust monitor maintenance?
A: Zero calibration sets the baseline reading when no dust is present. Span calibration adjusts output against a known reference. Together, they define the range of the instrument and keep measurements accurate over time, reducing baseline errors and compliance issues.
Q4: How does optical alignment affect dust monitor performance?
A: Optical alignment ensures the instrument’s light path and detector line up correctly. If the optical path is misaligned or dirty, the signal weakens or becomes unstable. Proper alignment and cleaning help maintain sensitivity and precision across different stack or duct sizes.
Q5: What is the Lv value in dust monitor maintenance?
A: Lv represents the optical signal strength that reaches the detector—not the dust concentration itself. A stable Lv is critical for EPA-style monitoring because it signals that the optical system is functioning correctly before dust concentration is calculated. Monitoring and adjusting Lv helps prevent measurement drift. (Based on blog section content)
Q6: Can optically based dust monitors work without regular maintenance?
A: No. Optical dust monitors may continue to display readings, but without routine cleaning, calibration, and mechanical checks, data quality degrades over time. This can lead to inaccurate emissions reporting or misinterpretation of trends.