It often starts on a humid morning shift. The analyzer that worked perfectly yesterday suddenly drifts off scale. Operators see unstable readings, erratic alarms, or, worse, no alarm at all. A quick inspection reveals fogged sample lines and tiny droplets in the optical cell. The culprit isn’t a failed sensor or faulty calibration—it’s condensation quietly invading your infrared gas analyzer.
Humidity and condensation are more than small inconveniences. They distort gas concentrations, block optical paths, and trigger data instability. Over time, they can erode your infrared gas analyzer’s reliability and compromise process safety. Ignoring them risks mis-trips, product quality losses, and even regulatory non-compliance.
Why Do Humidity and Condensation Disrupt an Infrared Gas Analyzer?

Humidity and condensation may seem harmless, but inside an infrared gas analyzer, they can completely distort measurement accuracy. When water vapor enters the sample path, it doesn’t just “add moisture” — it changes the gas composition itself. Condensation on optical windows or cell walls forms thin water films that absorb or scatter infrared light, masking the true gas signal. Even a small droplet can cause fluctuating readings or sudden signal loss.
The underlying mechanisms are subtle but powerful.
- Adsorption and desorption: Water molecules cling to internal surfaces, slowly releasing over time and altering readings.
- Dew-point exceedance: When gas cools below its dew point in sampling lines, vapor condenses into liquid, skewing both concentration and response time.
- Optical distortion: Tiny droplets bend or reflect infrared beams, confusing the detector.
- Pressure and density effects: Water vapor changes the gas mixture’s partial pressure, affecting absorption coefficients.
It’s critical to distinguish between moisture presence and actual condensation. The former effects readings slightly; the latter disrupts both the gas path and the analyzer’s optics.
Therefore, preventing humidity problems isn’t just about “keeping it dry.” It requires deliberate system design, active monitoring, and precise humidity control to ensure stable, trustworthy measurements — even in the most humid environments.
What Are the Real-World Causes of Humidity Problems in an Infrared Gas Analyzer?

Humidity-related issues rarely come from one single fault — they arise from multiple layers of the sampling and measurement system working against each other. Understanding where and why they happen is the key to solving them.
| System Layer | Typical Symptoms | Root Indicators | Underlying Principle |
| Sampling Line & Front-End Design | Slow response, fluctuating readings after humidity spikes | Tubing feels cool; check for unheated or low-flow sections | Long or cold tubing causes the gas to cool below its dew point, forming condensation and trapping droplets in dead volumes |
| Optical Cell & Analyzer Path | Sudden baseline drift, false zero, erratic signals | Visible fog or droplets on cell windows | Water films scatter IR light and distort absorption, leading to poor signal stability |
| Materials & Components | Gradual drift even in dry operation | Inspect tubing or seals for moisture or discoloration | Hygroscopic materials like PTFE or nylon absorb moisture; poor insulation allows temperature gradients that trigger condensation |
| Environmental Shifts | Analyzer stable during day, erratic at night | Note ambient temperature/humidity cycles | Dew point crossing during cool periods causes water to condense inside the sampling line or cell |
| Sample Composition Changes | Gas concentrations appear diluted or unstable | Compare readings before and after humidity events | Water vapor competes for IR absorption bands and alters the optical background, masking target gases |
Each of these factors compounds over time. A few degrees of cooling or a few centimeters of unheated tubing can shift an otherwise reliable infrared gas analyzer into a source of noise and uncertainty. Recognizing these warning signs early — and linking symptoms to their physical causes — is the first step toward restoring measurement integrity.
How Can You Protect Your Infrared Gas Analyzer from Humidity and Condensation?
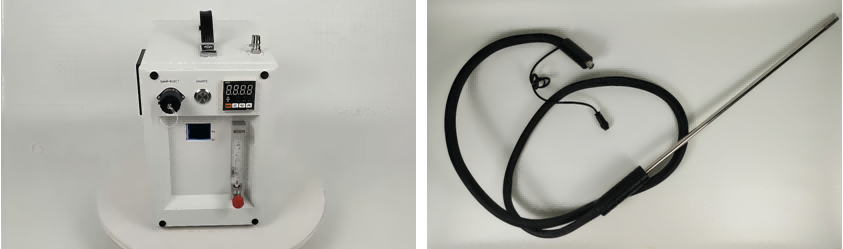
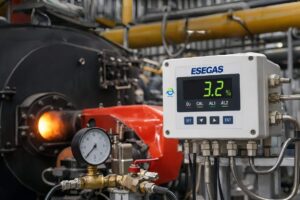
(ESEGAS conditioning & heated line)
Humidity control starts long before an analyzer goes online — it begins with smart design, continues through automated monitoring, and depends on disciplined maintenance. Each stage offers opportunities to reduce condensation risk and sustain reliable measurement.
| Lifecycle Phase | Best Practice | Implementation Tips | Key Benefits | Trade-Offs / Notes |
| Design | Keep sampling lines heated and insulated | Maintain gas temperature at least 5–10 °C above dew point | Prevents condensation, ensures stable readings | Requires power and temperature control circuits |
| Use low-permeability tubing (stainless steel, PTFE) | Avoid long loops or dead legs where water can accumulate | Reduces moisture ingress and lag time | Higher initial cost but lower lifecycle drift | |
| Add rain caps, filters, and purge devices | Install at sample inlet in outdoor or humid environments | Blocks rain and ambient moisture | Needs periodic inspection and replacement | |
| Online Control | Continuously monitor dew point and line temperature | Set alarm thresholds when dew point approaches gas temperature | Enables proactive prevention before condensation occurs | Needs dew point sensor calibration |
| Heat optical cells or apply dry purge | Maintain optics above ambient dew point | Prevents fogging and signal distortion | Slightly higher power consumption | |
| Integrate flow and humidity sensors in real time | Detect humidity spikes during process changes | Early warning of abnormal moisture events | Adds instrumentation complexity | |
| Maintenance / Calibration | Inspect lines and optical windows regularly | Look for droplets, fogging, corrosion | Sustains optical transmittance and analyzer accuracy | Requires scheduled shutdown or bypass |
| Clean and verify optical window transmittance | Use non–abrasive cleaning methods | Restores measurement linearity and stability | Needs trained personnel | |
| Track humidity trends over time | Correlate condensation events with temperature or process shifts | Enables predictive maintenance | Needs historical data logging |
In summary, keeping an infrared gas analyzer dry isn’t just about heating or insulation — it’s a coordinated control philosophy. By combining smart engineering, continuous monitoring, and disciplined maintenance, you transform humidity from a hidden threat into a manageable variable, protecting both measurement integrity and plant safety.
What Are the Key Implementation Considerations and Trade-Offs for Protecting Your Infrared Gas Analyzer?
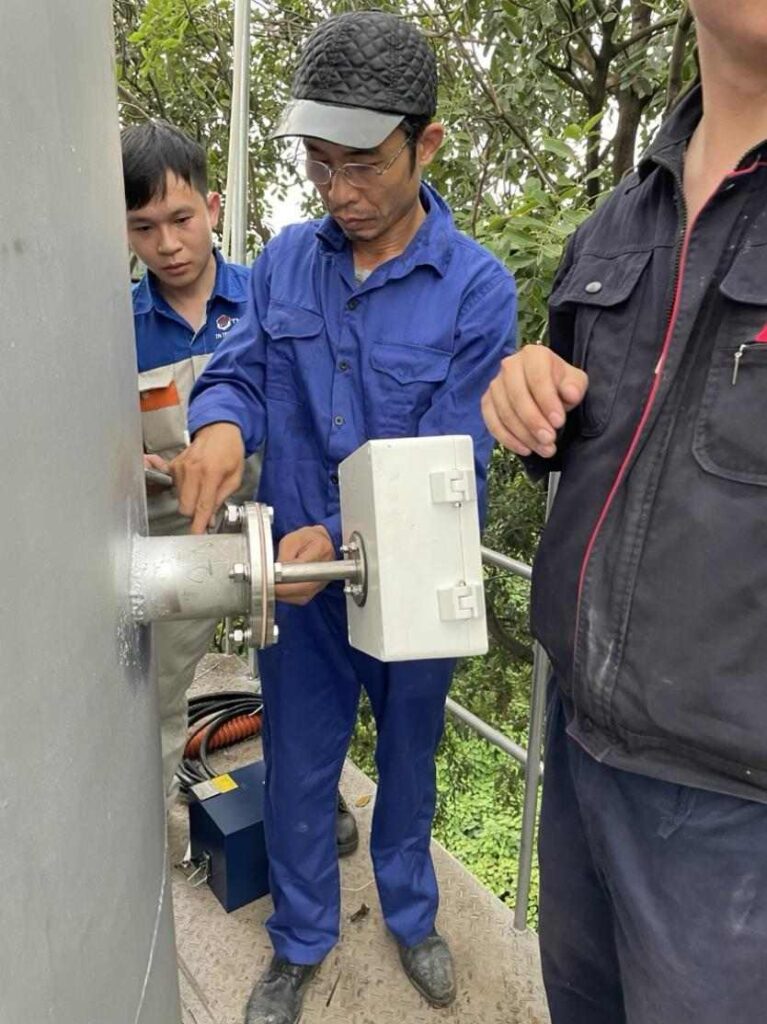
(ESEGAS engineer on-site installation)
When it comes to safeguarding your infrared gas analyzer against humidity and condensation, practical implementation presents more than a checklist—it demands strategic decision-making, cultural readiness, and long-term vision. Below are the central considerations and trade-offs you’ll face.
1. Cost vs Reliability
Investing in heated or insulated lines, purge systems, and dual-point controls boosts reliability—but it also raises both CAPEX and OPEX. For compliance-critical monitoring (e.g., emissions reporting or process safety), high investment makes sense. For internal process control (less stringent), a scaled-back solution may suffice. Thus, evaluate risk: ask which measurement failures carry greatest cost—and size the budget accordingly.
2. Retrofitting Legacy Systems
Many plants still run sample lines that are unheated or poorly insulated. You have choices:
- Extend heating/insulation to existing lines
- Relocate the analyzer closer to the source (shorter run, lower condensation risk)
- Use dilution or drying systems (less material cost but may affect detection limits)
Each option has pros/cons: relocating may involve structural changes, dilution may reduce sensitivity. Choose based on site constraints, budget, and measurement criticality.
3. Operational Culture & Training
Even the best hardware fails without the right culture. Shift-handover, seasonal weather changes, and startup/shutdown phases often trigger condensation incidents. Encourage engineers and maintenance teams to:
- Recognize humidity risks during weather transitions
- Monitor dewpoint vs. line temperature during morning startups
- Use checklists in handover logs for dryness and sample-line integrity
Embedding humidity awareness prevents “dry mode” front ends from suddenly acting wet.
4. Data Integrity & Trust
If your infrared gas analyzer gives erratic readings during humid periods, end-users may stop trusting it. They might manually override alarms or ignore analytics altogether. That defeats the purpose of instrumentation. Prevent this by addressing humidity issues at source so that data remains reliable, allowing operators to trust the analyzer—and avoid the costly fallback of ignoring it.
5. Future-proofing
While emerging sensors with built-in moisture resilience are on the horizon, the fundamentals remain. Good sampling design and humidity control won’t become obsolete. In fact, as analyzers become smarter, they still rely on clean dry sample gas. So, plan for future upgrades—but base them on strong sampling discipline now. In short: hardware evolves, but “keeping it dry” stays timeless.
Anyway, protecting your infrared gas analyzer from humidity isn’t simply a matter of adding heaters or insulation. It’s a strategic dance between investment, design choices, operational behavior, and data culture. By facing trade-offs honestly, training your team, maintaining data integrity, and building a future-ready mindset, you’ll convert humidity from an Achilles’ heel into a controlled variable in your measurement system.
Conclusion
Humidity and condensation may seem harmless, but they quietly erode the accuracy and stability of your infrared gas analyzer. Over time, these factors distort readings, shorten optical component life, and undermine operator confidence. Yet with structured design, disciplined maintenance, and smart monitoring, these risks can be effectively managed.
Ultimately, keeping your infrared gas analyzer “dry and trusted” requires both technology and teamwork. And if you need expert guidance or a system design review, our team is ready to help you safeguard accuracy where it matters most.
FAQs:
Q1: What happens when water vapor enters the sample path of an infrared gas analyzer?
A: When water vapor enters the sample path of an infrared gas analyzer, it can change the gas composition, create condensation or water films on optical surfaces, and scatter or absorb infrared light. These effects distort concentration readings, reduce signal clarity, and increase measurement drift.
Q2: How does a dew-point exceedance cause problems for an infrared gas analyzer?
A: If the gas temperature falls below its dew point in the sampling line, liquid water condenses. That condensation may cling to tubing or optics, altering gas density, absorbing gases, blocking optical paths, and ultimately causing erratic or incorrect readings from the infrared gas analyzer.
Q3: Why isn’t “moist air” the same as actual condensation in an infrared gas analyzer system?
A: Moist air (high humidity) presents a risk, but actual condensation or liquid water ingress is far more disruptive. While humid gas affects absorption slightly, liquid water can form films in the optical path, distort beam transmission, change sample mixture and degrade measurement reliability of the infrared gas analyzer.
Q4: Can humidity and condensation affect the long-term trust in an infrared gas analyzer’s data?
A: Yes. Persistent humidity or condensation issues in an infrared gas analyzer undermine data confidence. When readings shift or alarms mis-trigger due to moisture effects, operators may override or ignore analyzer data entirely, reducing system value and defeating the purpose of continuous monitoring.
Q5: What are the best immediate steps to protect an infrared gas analyzer from humidity and condensation hazards?
A: To protect an infrared gas analyzer from humidity/condensation hazards you should:
- Ensure sampling line temperature remains above dew point.
- Use inert, low-permeability materials with minimal dead volumes.
- Monitor dew point and line temperature in real time.
- Track condensation events and optical window condition to maintain system reliability.